How to photograph used clothing for online listings
A practical used clothing photo checklist covering lighting, color, detail shots, and ways to make wear clear to buyers.
Set up the first photo in soft light
Lay the garment flat or hang it on a plain backdrop. Move it near a window with indirect light and turn off indoor bulbs if they cast a different color. Keep the phone parallel to a flat garment so one end doesn’t look wider.
Compare the photo with the garment before moving on. If black fabric has lost all its texture, try a slightly brighter exposure. If a white shirt looks yellow, try a different light source before editing.
Show condition in separate detail photos
Take front and back views. Add close-ups of the size and care labels, stitching, closures, and any fading, pilling, stains, or holes a buyer would want to see. For denim, the knees, cuffs, and pockets are good places to check for wear.
Keep the lighting and background similar across the set so color is easier to judge. For fit or dimensions, a separate picture with a measuring tape can help buyers read the measurements.
Use small edits and review the result
A light brightness or detail adjustment can help when shadows hide stitching or texture. Compare the edited file with the original and the garment. The color and visible wear should still match what a buyer will receive.
Check the first photo as a small thumbnail and the detail shots at full size. If the main photo shows the whole item and the close-ups show its condition, buyers can understand the listing quickly.
See an example
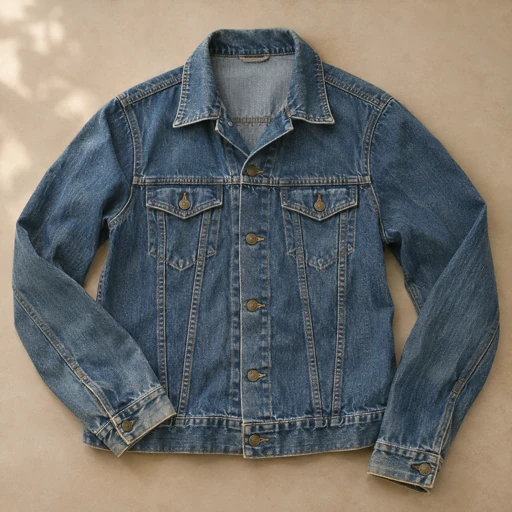
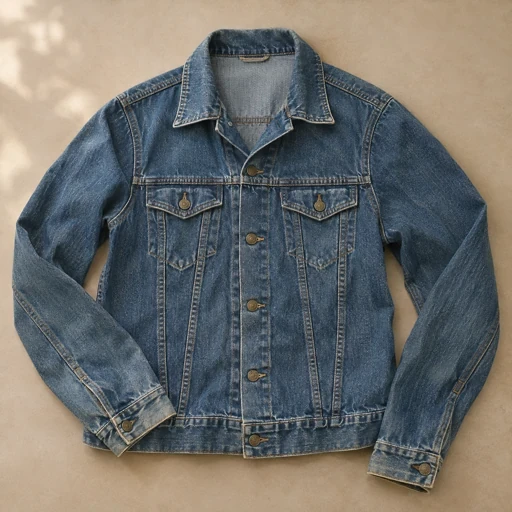
Illustrative example. A small detail adjustment makes the stitching easier to see while keeping the jacket’s color, fading and wear visible.